
Free & Fast

Delivery

Australian Based

Owned & Operated

30 Days Guarantee

Safe Shopping

How to Attach a Bookshelf to a Wall?

Date Posted:16 May 2022 

How to Attach a Bookshelf to a Wall? main image How to Attach a Bookshelf to a Wall? image

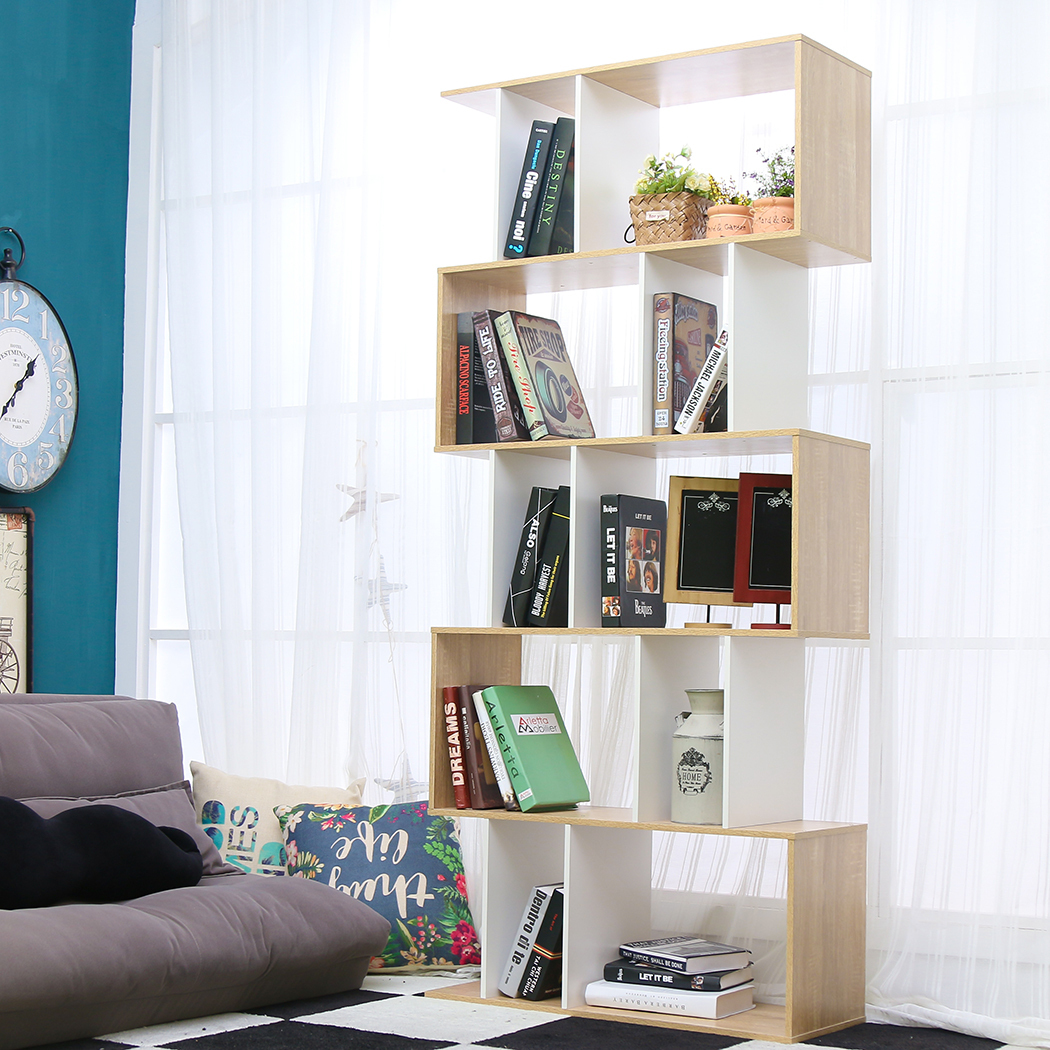
Attaching your standing bookshelf to the wall is vital if you don't want it tipping over, especially if you live in a seismic area. The situation becomes trickier if you have a narrow bookshelf that's tall and unstable.

A modern bookshelf that's tall and narrow is even more dangerous because of its design and the combined weight of all the books it holds. You could use furniture safety straps to secure them; however, you may need something more secure if the shelves are too heavy to move.


Stabilization Options


You could stabilize your bookshelf to your solid wall using corner brackets; however, using these requires drilling holes onto the side unit or under one of the shelves. You could also use furniture safety straps to avoid drilling any holes. You could secure the straps to the wall and glue pieces of velcro to the unit. Next, you'll press the strap to the Velcro strip.

Your third option should be securing your shelf to the wall using metal strapping. Metal strapping requires you to drill holes into the bookshelf. However, if you want to avoid drilling holes altogether, you could insert shims under the bookshelf's front feet and make it lean slightly backward.


How do you go about it?


Velcro bookshelf anchors.


This option is preferable if you don't want to damage your bookshelf.


Measure your wall and bookshelf.


Begin by emptying and pulling your bookcase from the wall and measuring its width and height. Next, you should use the quackehold guide to know how many nylon straps you'll need depending on their height and width.


Locate the wall studs.


Screwing into studs is safer than wall anchors, especially if your bookcase is heavy. The best way to find studs is using electronic stud finders. You'll need to turn the electronic stud finder on and run the device along your wall. Mark all places where the meter signs a stud's presence or where the light goes on.

Studs are separated by 16 inches in most modern houses, and you could find the others using a tape measure. However, this spacing may vary if you have plaster walls. Thus, you'll need to find each separately.


Measure your nylon strap.


It would be best to line up the nylon strap to the stud mark placed on the wall. Ensure that the stud mark lines up halfway through the strap giving it enough room to attach to the bookshelf.


Secure the nylon strap.


  • Press a washer to the strap and hold it against the wall.
  • Hold a screw at the washer's center and drill it into the wall using a power drill. Please give it a light tug, ensuring that it's secure. Repeat the process with the other strap(s).
  • Glue an 8" piece of velcro to each strap's loose end and hold it firmly until the glue dries. Use either the loop side or hook side of the fastener.


Finish the Anchor Installation


  • Measure the top of your bookshelf after placing it against the wall. Lay each strip against the top of the bookshelf and mark the corresponding locations using a pencil.
  • Next, you should apply a double-sided mounting tape on top of the bookshelf where you made the pencil marks. Set the other piece of velcro on top of the tape and apply enough pressure, ensuring it stays attached.
  • Lastly, you should line the two straps and press down firmly to connect them.


Tools You'll Need


  • Stud finder
  • Tape measure
  • Pencil
  • Washers
  • 15 to 20" nylon straps (woven)
  • Wall screws
  • Superglue
  • Power drill
  • Velcro
  • Double-sided mounting tape


Using Metal Braces


Metal braces are more secure than velcro straps; however, they require you to drill into the bookshelf. Metal braces are better if you own a huge bookshelf and live in a location that experiences lots of seismic activity.


Procedure


  • Begin by moving all books from your bookcase and moving it out of the way.
  • Next, you'll need to use an electronic stud finder to find two or more studs in the general area where you want to place the bookshelf.
  • You could also use a hammer or a rubber mallet and listen for a sharp or hard sound when tapping against the wall. This means that you've located a stud. Mark that part of the wall and adjust your bookcase to align with at least two studs on the wall.
  • Use a ladder (unless you have a ladder bookshelf) to access the top and measure the top of your bookcase over to your nearest stud on the right and mark this as the LSM (left stud measurement). Next, measure from the right and mark it as the RSM.
  • Next, you should place an L bracket and ensure it's flush with the shelf and wall. You can also replace the L brackets with door chain latches if you plan on moving the shelf regularly. You can install the chain on your wall and place the slide on top of the shelf.
  • Drill the L bracket into the top of your bookshelf using a cordless screwdriver and screws that can penetrate the top of your bookshelf.
  • Next, you should ask a friend to push the bookshelf against the wall if it's unbalanced and tends to tip forward. Drill the L bracket into the wall using 3" wood screws and washers. Do it until the screw head is even with the bracket, and avoid stripping the screw.

Note: You should install wall anchors if you can't find any studs. You'll need to drill a pilot hole into your wall and install the wall anchor. Next, you should align the brackets, then drill using three-inch screws.

  • Repeat this process on either side of your bookcase whenever it hits a stud. The number of metal brackets used depends on how big your shelf is and how much weight it carries. 


Conclusion


Securing your bookshelf to the wall is critical if you live in areas that receive seismic activity. It's even more vital if you have young children. Take these measures to avoid any accidents and ensure your bookshelf is secure. 


Leave a comment

Comments have to be approved before showing up